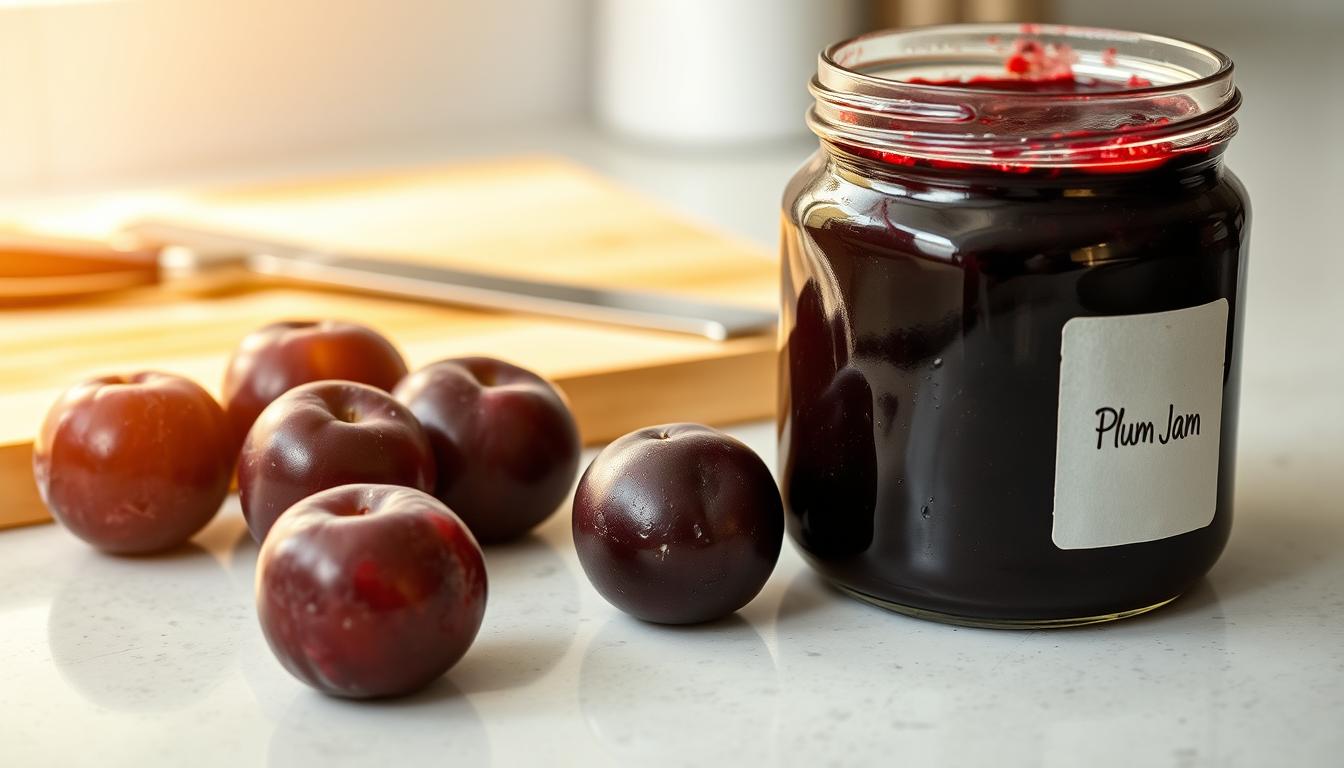
Plum Jam: How To Make It Perfect Every Time
Making homemade jam is like an art. It turns simple plums into a tasty spread. Your journey starts with learning about fruit preserves that keep summer’s sweetness alive.
Homemade jam has a richer flavor than store-bought. With a few ingredients and patience, you can make perfect plum jam. It’s great on toast, bagels, or straight from the jar.
This guide will show you how to make amazing plum jam. You’ll learn to create a preserve that will wow your family and friends.
Key Takeaways
- Homemade plum jam requires minimal ingredients and equipment
- Fresh, ripe plums create the most flavorful jam
- Proper sterilization is crucial for safe preservation
- Adjust sugar levels to suit your taste preferences
- Homemade jam makes an excellent gift or pantry staple
Understanding the Basics of Plum Jam Making
Making delicious jam recipes starts with knowing how to work with stone fruit. Plum jam is a tasty way to keep summer’s sweet flavors alive.
Before you start making jam, you need the right knowledge and tools. It might seem hard, but with the right help, you’ll make tasty preserves quickly.
Types of Plums for Jam Making
Not all plums are good for jam. The top ones are:
- Italian plums – rich and perfect for deep-flavored jam
- Victoria plums – sweet with a beautiful color
- Damson plums – tart and ideal for traditional jam recipes
Essential Equipment Needed
For successful jam making, you need specific tools. Here’s what you’ll need:
- Large preserving pan
- Sterilized glass jars
- Jam funnel
- Jam thermometer
- Large wooden spoon
Best Time to Make Plum Jam
Timing is key when using seasonal produce. Plums are at their best from August to September. This is the perfect time to pick fresh plums for your jam.
Pro tip: Choose plums that are ripe but still firm. You’ll need about 4 lb (1.8 kg) of plums to make about 6 cups of chopped fruit for a standard jam recipe.
Selecting and Preparing Your Plums
Making the perfect plum jam starts with picking the right stone fruit. Success comes from choosing plums at their best ripeness. Knowing how to pick plums is key to keeping their rich flavors.
When picking plums for jam, look for ones that are firm but slightly soft. Texas has about 300 types of plums to choose from. Your top picks include:
- Japanese plums with high sugar content
- Black plums for deeper sweetness
- Green Gage plums with balanced flavor profiles
For the best jam, mix ripe and slightly under-ripe plums. Under-ripe plums have more pectin, which helps your jam set well. The right mix can make your jam truly extraordinary.
| Plum Variety | Sugar Content | Flavor Profile |
|---|---|---|
| Black Plums | High | Sweet |
| Red Plums | Medium | Tart |
| Green Gage Plums | Highest | Balanced |
Getting ready for jam-making is important. Wash plums well, remove pits, and cut them into equal pieces. Tip: Freeze plums for 2 hours before chopping to keep their texture.
Your choice of plums shows respect for culinary traditions. With the right selection and prep, you’ll make a jam that’s a taste of summer.
Essential Ingredients for Perfect Plum Jam
Making delicious jam recipes starts with the right ingredients. You need to pick the best parts and balance the flavors well.
The base of a great plum jam is top-notch ingredients. Let’s look at the key parts that make your homemade jam special.
Sugar Types and Ratios
Picking the right sugar is key for a good jam. Most recipes use granulated sugar. You’ll need about 3 cups of sugar for every 4-1/2 pounds of plums.
- Granulated white sugar provides consistent sweetness
- Raw sugar adds a deeper, more complex flavor
- Adjust sugar based on plum ripeness and personal taste
Optional Flavor Enhancers
Boost your jam’s taste with these creative extras:
| Flavor Enhancer | Quantity | Flavor Impact |
|---|---|---|
| Vanilla Extract | 1 teaspoon | Adds warm, sweet undertones |
| Fresh Ginger | 2 tablespoons | Introduces a spicy kick |
| Cinnamon Sticks | 1-2 sticks | Provides warm, aromatic notes |
| Orange Zest | Zest of one orange | Brings bright, citrusy freshness |
Role of Pectin in Jam Making
Plums have a lot of pectin, which helps your jam set right. Most plum varieties won’t need extra pectin. The natural pectin and lemon juice (about 2 tablespoons) make a thick jam.
Tip: If your plums are very ripe, you might need more lemon juice. Your jam should get to 105°C (220°F) for the best texture.
Sterilizing Jars and Equipment

Learning how to can is key when making homemade plum jam. Sterilizing jars and equipment is essential to keep your food safe and tasty for months. Before starting, make sure to clean your jars and tools well.
There are a few good ways to sterilize jars:
- Oven Method
- Heat oven to 275°F (130°C)
- Place jars on a double layer of newspaper
- Sterilize for at least 20 minutes
- Dishwasher Method
- Use high-temperature or steam setting
- Run jars through a complete cycle
- Fill immediately after sterilization
- Microwave Method
- Best for regular jam jars
- Heat for 30-45 seconds
- Not suitable for Kilner-style or metal lids
Always sterilize more jars than you think you’ll need. Don’t use old jar lids that look damaged or rusty. This careful step ensures a tight seal and keeps your jam fresh.
Pro tip for food lovers: After filling your jars, let the jam sit for 15 minutes before sealing. This step can greatly improve your jam’s quality and shelf life.
Step-by-Step Plum Jam Recipe
Making homemade jam is like an art. It turns fresh plums into a tasty spread. This recipe will show you how to make a delicious jam that captures the summer’s essence.
Preparing the Fruit Mixture
First, gather your ingredients for a real homemade jam experience. You’ll need:
- 4-1/2 pounds of ripe plums
- 3 cups of granulated sugar
- 1 lemon (juiced)
- 1/2 cup of water
Wash and chop the plums, removing any bruised parts. Pro tip: Leave the skins on, as they contain natural pectin that helps the jam set.
Cooking Process
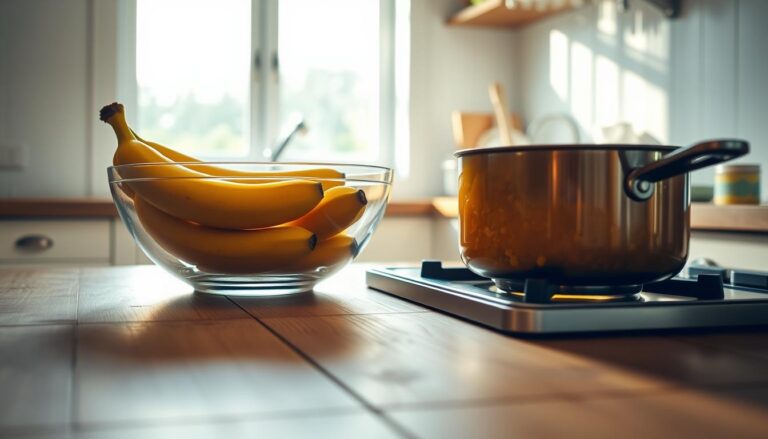
Your plum jam recipe comes to life in the cooking stage. Place chopped plums in a large pot with water and cook for 5-7 minutes until soft. Gradually add sugar, stirring continuously until completely dissolved.
Bring the mixture to a gentle rolling boil. Continue cooking for 25-30 minutes, stirring frequently to prevent burning.
Testing for Setting Point
To know when your homemade jam is ready, use a simple technique. Place a small amount on a chilled plate. Push the jam with your finger – if it wrinkles, it’s ready.
| Jam Characteristic | Details |
|---|---|
| Yield | 10 half-pints or 5 full pints |
| Processing Time | 5 minutes in hot water bath |
| Shelf Life | Up to 1 year when properly canned |
| Refrigeration | 7-10 days after opening |
Once set, carefully pour the plum jam into sterilized jars. Your delicious homemade jam is now ready to enjoy!
Proper Storage and Preservation Methods

Learning how to can is key to keeping your homemade plum jam fresh. Sealing your jars right creates a vacuum. This vacuum keeps your jam safe from spoilage and makes it last longer.
Here are the main steps to follow for storing your jam:
- Seal jars while jam is hot to create a proper vacuum
- Store sealed jars in a cool, dark place
- Keep away from direct sunlight and heat sources
- Check seals periodically for integrity
The shelf life of your jam depends on how you store it. Here’s a quick guide:
| Preservation Method | Storage Location | Expected Shelf Life |
|---|---|---|
| Sealed Jars | Cool, dry pantry | Up to 12 months |
| Opened Jar | Refrigerator | 4 weeks |
For the safest jam, use water bath canning. This method adds extra protection against bacteria. Always check your jars before eating.
Properly stored, your homemade plum jam will be a joy to eat. By using these canning tips, you’ll enjoy your jam for months.
Troubleshooting Common Issues
Even the most skilled jam makers face problems. Knowing how to fix common issues can make your jam-making better. This ensures your plum jam turns out delicious every time.
Plum jam might seem simple to make, but issues can pop up. Let’s look at some common problems and how to solve them.
Fixing Runny Jam
Runny jam can be a bummer, but it’s fixable. Here are ways to get your jam just right:
- Reprocess the jam with more pectin
- Add acidic fruit juice to help it set
- Boil the jam a bit longer to thicken it
Preventing Crystallization
Sugar crystals can mess up your jam’s smoothness. Here’s how to avoid it:
| Prevention Method | Explanation |
|---|---|
| Complete Sugar Dissolution | Make sure sugar dissolves fully before boiling |
| Use Corn Syrup | Adding a bit helps stop sugar crystals |
| Avoid Stirring | Don’t stir once sugar is dissolved to stop crystals |
Dealing with Foam
Foam can make your jam look less appealing. Here’s how to handle it:
- Add a small amount of butter to cut down foaming
- Remove foam with a metal spoon
- Let the jam rest a bit before jarring
By learning these tips, you’ll make perfect plum jam. It will show off your jam-making skills and keep your culinary traditions alive.
Creative Ways to Use Plum Jam
Your homemade plum jam can do more than just top toast. It’s a chance to add excitement to your cooking. Try mixing it into yogurt, using it as a meat glaze, or drizzling it over cheese for a flavor boost.
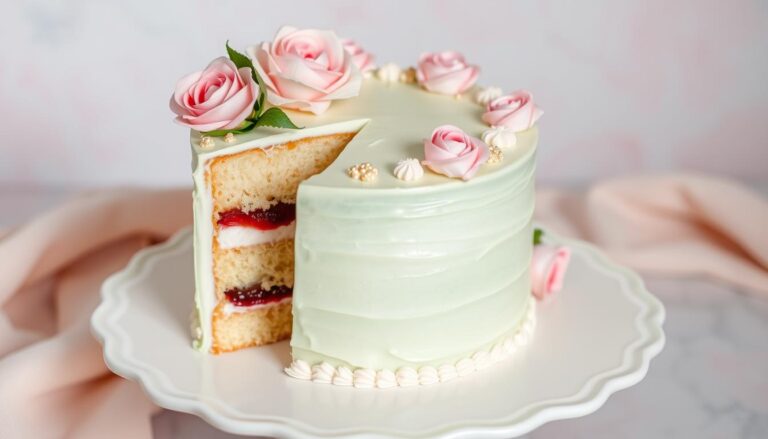
Baking is a great way to use your plum jam. Swap out traditional jam for your homemade version in a Victoria Sponge cake. Or, make thumbprint cookies that show off the jam’s sweet, fruity taste. Both bakers and pastry chefs will love the extra sweetness and depth it adds.
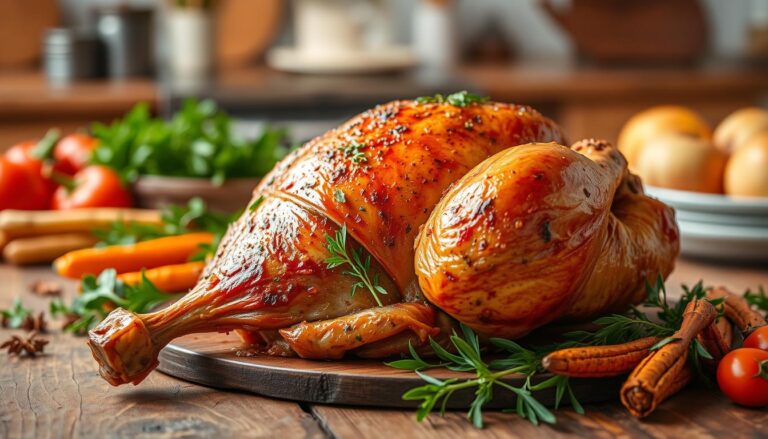
For a savory twist, use your plum jam as a marinade for grilled meats. Mix it with soy sauce and ginger for a tasty Asian glaze. You can also blend it into salad dressings or use it on charcuterie boards. Plum jam is truly versatile.
Don’t just stick to the usual ways of using plum jam. Mixologists have found it adds depth to cocktails. A spoonful in a bourbon drink or as a glass rim can make a drink unforgettable. It highlights the jam’s unique taste and artisan quality.
FAQ
How long does homemade plum jam last?
Can I make plum jam without pectin?
What are the best plum varieties for jam making?
How can I tell if my jam has reached the right consistency?
Is it necessary to sterilize jars for jam making?
Can I reduce the sugar in my plum jam recipe?
What should I do if my jam turns out too runny?
How can I prevent sugar crystallization in my jam?
Can I freeze plum jam instead of canning?
What are some unique ways to use plum jam?
Source Links
- Plum Jam – https://www.tasteofhome.com/recipes/plum-orange-jam/?srsltid=AfmBOoo1Tndh5t5UxM6M0NGsZQ4wDSFGrQcguweM622whl9eL32HtwUV
- Low Sugar Plum Jam Recipe – Delicious Asian Food – https://deliciousasianfood.com/low-sugar-plum-jam-recipe/
- Homemade 2-Ingredient Plum Jam -Szilva Lekvár – The Hungary Soul – https://thehungarysoul.com/homemade-easy-2-ingredient-plum-jam-szilva-lekvar/
- Homemade Plum Jam (GF) • The Heritage Cook ® – https://theheritagecook.com/plum-jam-from-scratch/
- Easy Plum Jam – https://www.farmersgirlkitchen.co.uk/how-to-make-easy-plum-jam/
- Small Batch Plum Jam (no pectin) Recipe | Our Table 4 2 – https://ourtable42.com/small-batch-plum-jam-no-pectin-recipe/
- Princess Kate promised to give away her plum-jam recipe for free, unlike Meghan! – https://www.celebitchy.com/911191/princess_kate_promised_to_give_away_her_plum-jam_recipe_for_free_unlike_meghan/
- Plum Butter Recipe- 3 cooking options. – https://www.simplycanning.com/plum-butter-recipe/
- Plums – Exploring Health Benefits, Varieties, and Recipes! | Farmers Markets in Texas – https://discover.texasrealfood.com/texas-home-cooking/whats-in-season-plums-exploring-health-benefits-varieties-and-recipes
- Plum Jam – https://www.tasteofhome.com/recipes/plum-orange-jam/?srsltid=AfmBOopivBGcLovGHww0IeLERhK49ogKmxFmf1qJWbgkGNrxkU1Xz_kx
- How to Make Wild Plum Jam: A Simple and Delicious Guide – https://foodiesmag.com/wild-plum-jam/
- Mary Berry Plum Jam Recipe – British Baking Recipes – https://britishbakingrecipes.co.uk/mary-berry-plum-jam/
- The 3 Most Trusted Ways for Sterilizing Jars for Jams and Preserves – https://www.thespruceeats.com/sterilize-jars-for-jams-and-preserves-435340
- Our Step-by-Step Guide to Making Jam and Canning It – https://www.marthastewart.com/1009782/summer-preserved
- Jams, jellies and preserves with no added pectin – https://extension.oregonstate.edu/food/preservation/jams-jellies-preserves-no-added-pectin
- Plum Jam – https://www.tasteofhome.com/recipes/plum-orange-jam/?srsltid=AfmBOopmBY11T7nyfORx6gjuH3nsTME-spIMKuWEPz4VJF4n7me3ErJy
- Jamie Oliver Plum Jam Recipe – Jamie Oliver Eats – https://jamieolivereats.co.uk/plum-jam/
- Plum Jam Recipe – https://www.binkysculinarycarnival.com/plum-season-in-upstate-ny/
- Preserving plums and prunes – https://extension.oregonstate.edu/food/preservation/preserving-plums-prunes
- Safe canning practices for jam? – https://extension.oregonstate.edu/ask-extension/featured/safe-canning-practices-jam
- Jams and jellies: Problems and solutions – https://extension.oregonstate.edu/food/preservation/jams-jellies-problems-solutions
- Liquid Loss in Home Canning: How Much is TOO Much? – https://www.simplycanning.com/liquid-loss-in-home-canning/
- Step-By-Step Guide to Plum Cultivation: A Beginners Guide – https://www.agrifarming.in/plum-farming
- 19 Plum Recipes Worth Savoring – https://www.tasteofhome.com/collection/plum-recipes/?srsltid=AfmBOooPvfj0RO4P6kpGAZmaNcS4UPODm72pFvtEkqzgcxIXMFlEvu90
- Plum Jelly – https://www.tasteofhome.com/recipes/wild-plum-jelly/?srsltid=AfmBOooQNTAx9Z2E0pJPt4svQiBMWRDMX5EtlCvzSTteQxArk6KbOdzQ