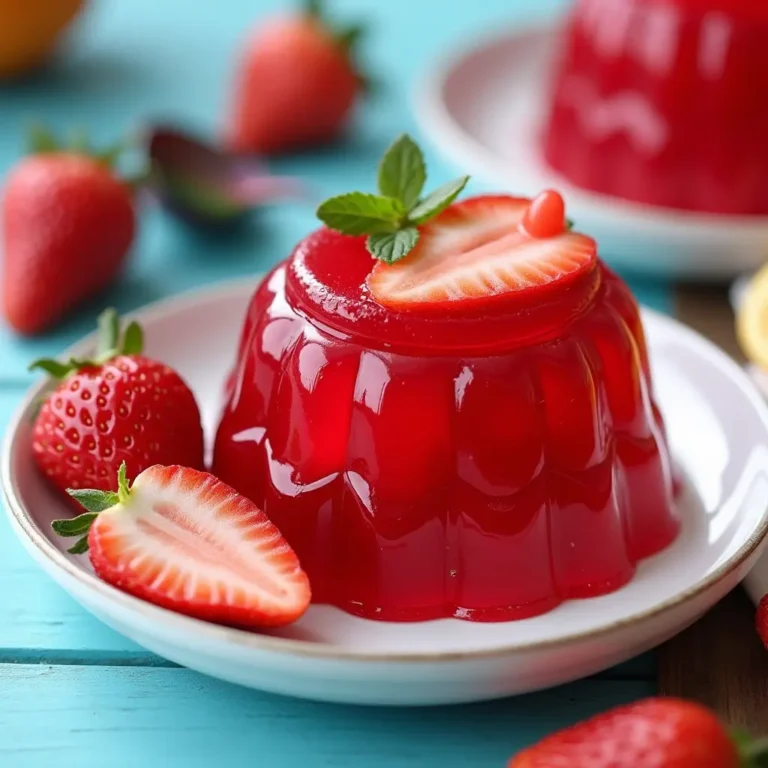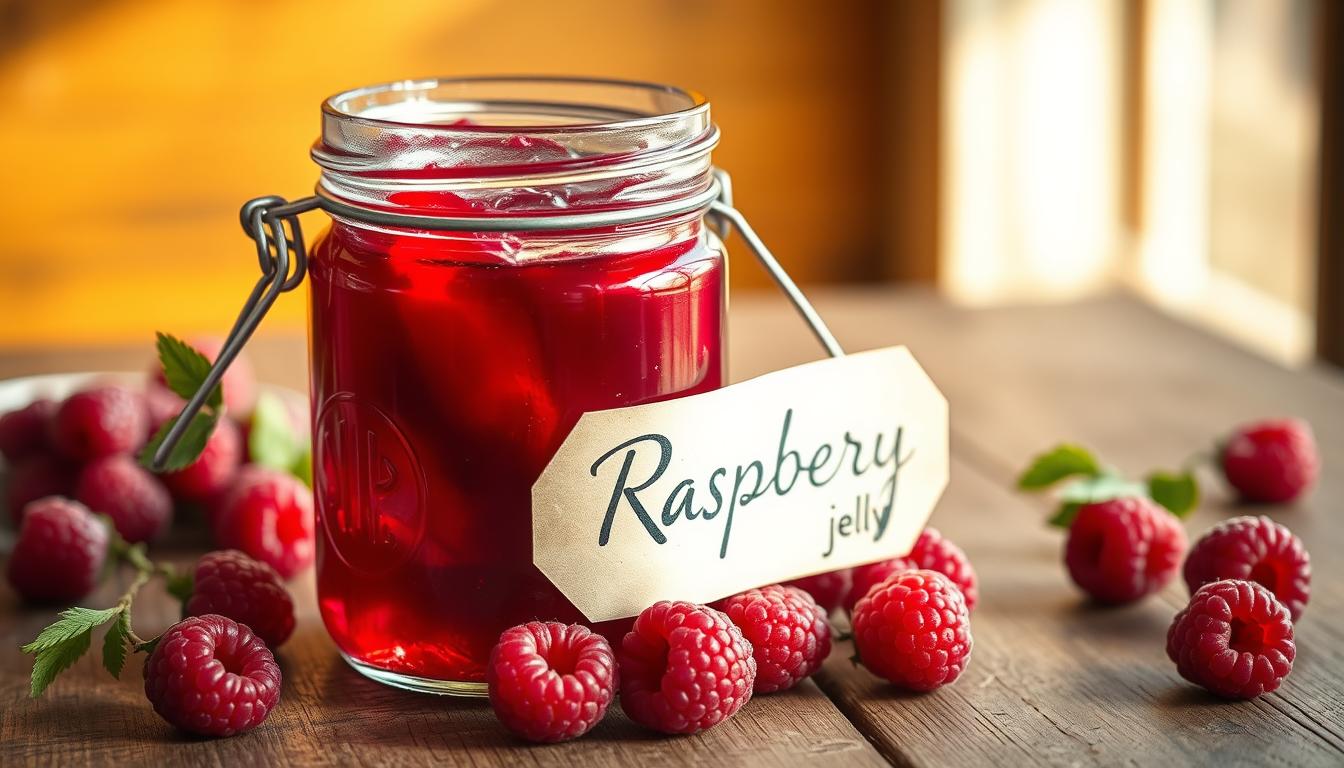
How to Make Raspberry Jelly with Just 4 Ingredients
Making homemade raspberry jelly is simpler than you think. With just four easy ingredients, you can turn fresh raspberries into a tasty spread. This recipe adds a burst of summer flavor to your breakfast and snacks.
This jelly recipe needs little cooking skill but packs a big flavor punch. It’s perfect for both experienced cooks and beginners. You’ll learn how to make a delicious preserve that showcases the sweetness of ripe raspberries.
Key Takeaways
- Learn to make raspberry jelly with only 4 ingredients
- Yield up to 8 half-pint jars of delicious homemade condiments
- Preserve summer’s raspberry flavor for up to 12 months
- Easily customize your jelly with simple techniques
- Enjoy a fresh, preservative-free homemade treat
Understanding the Basics of Raspberry Jelly Making
Making perfect raspberry jelly is a mix of science and cooking skills. Before you begin, it’s important to know the basics. These basics turn simple ingredients into a tasty fruit spread.
The Science Behind Perfect Jelly Setting
To make a smooth, clear jelly, you need three things: pectin, sugar, and acid. Pectin is a natural substance in fruits that gives jelly its texture. When you heat it with sugar and a bit of acid, like lemon juice, it turns into a gel. This makes the jelly irresistible.
- Pectin needs the right mix of sugar and acid to set right
- Lemon juice helps pectin gel
- Temperature is key for jelly to form
Difference Between Jam and Jelly
Many think jam and jelly are the same, but they’re not. Jelly is made from strained fruit juice, making it clear and smooth. Jam, on the other hand, has fruit pieces and is chunkier.
| Characteristic | Jelly | Jam |
|---|---|---|
| Texture | Smooth and clear | Chunky with fruit pieces |
| Ingredients | Strained fruit juice | Whole or crushed fruits |
Why These 4 Ingredients Work Together
The secret to great raspberry jelly is the mix of four simple things: raspberries, sugar, pectin, and lemon juice. Each one is important for a jelly that’s perfectly set and full of flavor.
- Raspberries add natural taste and some pectin
- Sugar helps preserve and activate pectin
- Pectin gelling agent ensures the right texture
- Lemon juice balances sweetness and helps it set
Essential Ingredients for Raspberry Jelly
Making the perfect raspberry jelly starts with choosing top-notch seasonal produce. Your journey to a delicious spread begins with just four basic ingredients. These ingredients turn fresh raspberries into a tasty treat.
Let’s look at the main parts you’ll need for a great homemade raspberry jelly:
- Fresh Raspberries: The main ingredient, giving a strong flavor and natural pectin
- Granulated Sugar: Needed for sweetness and to keep it fresh
- Lemon Juice: Adds a bright taste and helps it set
- Water: Helps get the raspberry juice and keeps the right consistency
When picking raspberries, go for ripe, bright ones from local markets or your garden. The quality of your ingredients greatly affects your jelly’s taste.
Here’s a quick look at what’s in your raspberry jelly:
| Ingredient | Quantity | Nutritional Highlights |
|---|---|---|
| Fresh Raspberries | 4 cups | Rich in fiber, vitamin C |
| Granulated Sugar | 4 cups | Quick energy source |
| Lemon Juice | 2 tablespoons | Helps pectin activation |
| Water | 1 cup | Helps extraction process |
With these chosen ingredients, you’ll make a farm-to-table treat. It will show off the fresh, seasonal taste in every bite.
Required Kitchen Tools and Equipment
Making tasty canning recipes needs the right tools. Start your raspberry jelly journey with the right gear for a smooth process.
Essential Utensils for Jelly Making
For making homemade raspberry jelly, you’ll need a few important tools:
- Large, heavy-bottomed pot for even heat distribution
- Wooden spoon for stirring
- Fine-mesh strainer or cheesecloth
- Clean glass jars for storage
- Measuring cups and spoons
Optional But Helpful Tools
Some extra tools can make jelly-making better:
- Candy thermometer for precise temperature control
- Funnel for easy jar filling
- Kitchen scale for accurate measurements
- Jar lifter for safe handling
Sterilization Equipment
Food safety is key in canning. Your sterilization tools should include:
- Large pot or water bath canner
- Tongs or jar lifter
- Clean towels
- Sterilizing solution or bleach
Having the right tools means your homemade raspberry jelly is not just yummy. It’s also safe and well-made.
Preparing Fresh Raspberries for Perfect Jelly
Making a great berry spread begins with the best seasonal produce. The success of your raspberry jelly depends on picking the right berries and preparing them well.
When picking raspberries, look for these important traits:
- Vibrant deep red color
- Firm texture without soft spots
- Plump and glossy appearance
- Fresh, sweet aroma
You’ll need about 600 grams of fresh raspberries for your recipe. For the best taste, buy berries from local farmers’ markets or pick them yourself. Fresh, ripe raspberries are the secret to an amazing homemade jelly.
Washing your berries right is key:
- Rinse raspberries gently in cool water
- Use a soft colander to prevent crushing
- Pat dry with clean paper towels
- Spread berries on a clean kitchen towel to air dry completely
Pro tip: If you’re not using the raspberries right away, store them in a single layer in the fridge. This keeps them fresh and prevents spoilage. It ensures your berry spread has the perfect summer flavor.
Step-by-Step Raspberry Jelly Making Process
Making perfect raspberry jelly needs care and patience. Your journey starts with three key steps. These steps turn fresh raspberries into a tasty spread. Follow this recipe to master each step.
Maceration Phase
Start by getting your raspberries ready. Gently combine 500 grams of fresh raspberries with 400 grams of sugar. Let it sit for a few hours, usually overnight. This phase makes the jelly more flavorful by releasing fruit juices.
Cooking Process
Now, it’s time to cook. Move the mixture to a big pot. Here’s what to do next:
- Heat the mixture over medium-high heat
- Stir often to avoid burning
- Check the temperature with a candy thermometer
- Cook until it hits 105°C (225°F)
Setting and Testing
Getting the jelly just right is key. Use the cold plate test to see if it’s done:
- Freeze a plate before cooking
- Put a spoonful of hot jelly on the plate
- Run your finger through it
- If it wrinkles and doesn’t flow back right away, it’s ready
| Jelly Making Parameter | Specification |
|---|---|
| Total Cooking Time | 6-7 minutes |
| Final Yield | Approximately 400 ml |
| Calories per Serving | 74 kcal |
Your homemade raspberry jelly is ready. Take it off the heat, let it cool, and get ready to store or enjoy it!
Storage and Preservation Methods

Making homemade raspberry jelly is a fun project. But, it’s important to store it right to keep its taste and quality. The way you store it will decide how long you can enjoy it.
There are a few ways to keep your raspberry jelly fresh and tasty:
- Refrigerator Storage: Keeps jelly fresh for up to 6 months
- Pantry Storage: Unopened jars can last up to 12 months
- Freezer Storage: Extends preservation for extended periods
Sealing your jars well is key for long-term storage. Here’s how to do it right:
- Clean jars thoroughly before filling
- Leave 1/4 inch headspace at the top of each jar
- Process jars in a boiling water bath for 10 minutes
- Allow jars to cool undisturbed for 12-24 hours
Watch for signs of spoilage like mold, yeasty smells, or separation. Jelly made with high-sugar content and high-acid fruits like raspberries lasts longer.
Pro tip: Label your jars with the date you made them. This way, you can enjoy your homemade raspberry jelly at its best!
Common Troubleshooting Tips for Raspberry Jelly
Jam making can be tricky, even for experienced home cooks. Mastering the art of creating perfect raspberry jelly requires understanding some common challenges and how to resolve them. Whether you’re using a pectin gelling agent or working with natural fruit pectin, these troubleshooting tips will help you create delicious jellies every time.
Fixing Runny Jelly
A runny jelly can be frustrating, but it’s easily remedied. The key is understanding the role of the pectin gelling agent in jam making. If your jelly doesn’t set properly, you can take these steps:
- Return the jelly to the pot and cook for an additional 5-10 minutes
- Test the set by placing a small amount on a chilled plate
- Add more pectin if needed
Addressing Crystallization
Sugar crystallization can ruin the smooth texture of your raspberry jelly. To prevent this:
- Ensure sugar is completely dissolved during cooking
- Stir consistently while heating
- Cook at the recommended temperature (around 220°F)
Preventing Mold Growth
Proper preservation is crucial in jam making to prevent mold growth. Follow these critical steps:
| Preservation Step | Details |
|---|---|
| Sterilization | Boil jars for 10 minutes before use |
| Processing | Process jars in boiling water bath for 10 minutes |
| Cooling | Allow jars to cool for 12-24 hours undisturbed |
Remember, practice makes perfect in jam making. Each batch you create will improve your skills and understanding of the delicate process of creating the perfect raspberry jelly.
Creative Ways to Use Your Homemade Raspberry Jelly

Your homemade raspberry jelly is more than just a spread. It can turn simple dishes into amazing meals with little effort. It works for both savory and sweet dishes.
Here are some ways to make your raspberry jelly special:
- Create a zesty raspberry pepper jelly by adding finely chopped hot peppers
- Use as a glaze for roasted meats like chicken or pork
- Swirl into yogurt for a quick breakfast boost
- Fill thumbprint cookies for a delightful dessert
- Blend into salad dressings for a fruity kick
For those who love to try new things, here are some unique uses for your fruit preserves:
- Mix into marinades for grilled meats
- Spread on grilled cheese sandwiches
- Use as a topping for cheesecake
- Create a quick dipping sauce for appetizers
- Enhance cocktails with a spoonful of jelly
Pro tip: Try your raspberry pepper jelly on a cheese board. It’s great with aged cheddar or creamy brie. It makes a fantastic appetizer that will wow your guests.
Health Benefits of Homemade Raspberry Jelly
Your homemade raspberry jelly is more than a tasty treat. It’s a nutritional powerhouse with amazing health benefits. By making it yourself, you’re creating a farm-to-table delicacy that boosts your wellness.
Raspberries are nutritional superstars, offering a range of health advantages in every spoonful. Here are the key nutritional benefits:
- High in antioxidants that combat free radicals
- Rich in vitamin C for immune system support
- Contains essential dietary fiber
- Low in calories compared to commercial spreads
When you make raspberry jelly at home, you control the ingredients. This means avoiding artificial preservatives and excessive sugars found in store-bought versions.
| Nutritional Comparison | Homemade Raspberry Jelly | Commercial Jelly |
|---|---|---|
| Added Sugar per Tablespoon | 2-4 grams | 8-9 grams |
| Calories per Tablespoon | 25-35 | 50-60 |
| Fiber Content | 1-2 grams | Negligible |
By embracing homemade raspberry jelly, you’re not just creating a spread. You’re crafting a healthier, more mindful way to enjoy sweet seasonal produce.
Variations on the Basic Raspberry Jelly Recipe
Mastering the classic raspberry jelly opens up a world of creativity. You can turn simple food into something amazing by trying new ingredients.
- Berry Blends: Mix raspberries with blackberries or strawberries for a complex, multi-berry jelly
- Herbal Infusions: Add fresh mint or basil for an unexpected aromatic twist
- Gourmet Flavor Boosters: Incorporate a splash of balsamic vinegar or vanilla extract
Your homemade fruit preserves can become unique gifts. They show off your culinary creativity. The secret is to balance flavors while keeping the raspberry taste at the heart.
Try these techniques to make food that shows your personal taste. Each new flavor tells a story of innovation and passion in your kitchen.
Conclusion
Making your own raspberry jelly is more than a fun cooking project. It’s a way to make tasty homemade condiments with fresh raspberries. You’ll turn simple ingredients into a rich, flavorful spread that’s better than store-bought.
Creating your own jelly lets you be creative and flexible. You can try different methods like the clear muslin or pulpy food mill. Your homemade condiments will wow everyone and make you feel proud of your handiwork.
Don’t worry if it takes a few tries to get it right. Every batch of jelly you make will teach you something new. It’s about learning, enjoying the process, and making something special. So, enjoy making your own berry spread and show off your culinary skills.
FAQ
How long does homemade raspberry jelly last?
Can I make raspberry jelly without pectin?
What’s the difference between raspberry jam and raspberry jelly?
How can I tell if my raspberry jelly is properly set?
Can I reduce the sugar in my raspberry jelly recipe?
What are some creative ways to use raspberry jelly?
How do I prevent my raspberry jelly from becoming too runny?
Can I make raspberry jelly with frozen raspberries?
Source Links
- Homemade Raspberry Jam – Jamie Cooks It Up – https://jamiecooksitup.net/2024/06/homemade-raspberry-jam/
- Raspberry Jam Recipe – Maureen Abood – https://maureenabood.com/simple-raspberry-jam-recipe/
- How To Make Easy Homemade Raspberry Jam – https://gbskitchen.com/how-to-make-easy-homemade-raspberry-jam/
- Raspberry Preserves {no pectin recipe} – https://thecreeksidecook.com/raspberry-preserves-no-pectin-recipe/
- Raspberry Jelly – https://www.snapcalorie.com/recipes/raspberry_jelly.html
- The Easiest Raspberry Freezer Jam Recipe – Gemma’s Bigger Bolder Baking – https://www.biggerbolderbaking.com/raspberry-freezer-jam-recipe/
- 22 Essential Baking Tools for Creating Your Favorite Recipes (Plus 17 Handy Extras) – https://www.bhg.com/recipes/how-to/bake/essential-baking-tools/
- Jam vs Jelly – https://www.bettycrocker.com/how-to/ingredients-and-preparation/jam-vs-jelly
- From Vine to Brine: Here’s Everything You Need to Make Dill-icious Pickles – https://www.thespruceeats.com/canning-supplies-1389150
- How to Make Raspberry Jam – https://bakesbybrownsugar.com/how-to-make-raspberry-jam/
- Easy Raspberry Jam (Only 3 Ingredients) – Crave The Good – https://www.cravethegood.com/raspberry-jam/
- Seedless Raspberry Jam (Small Batch Recipe) – https://feastgloriousfeast.com/seedless-raspberry-jam/
- How to Make Jam – Easy Homemade Jam Recipes – https://veenaazmanov.com/how-to-make-jam-homemade-jam/
- Raspberry Jam Bars – Once Upon a Chef – https://www.onceuponachef.com/recipes/raspberry-jam-bars.html
- Raspberry Jam {Easy Canning Recipe} – https://heartscontentfarmhouse.com/raspberry-jam-canning-recipe/
- Making Jams, Jellies and Fruit Spreads (SP 50-764) – https://extension.oregonstate.edu/food/preservation/making-jams-jellies-fruit-spreads-sp-50-764
- Do You Need to Keep Jams or Jelly in the Refrigerator? Food Scientists Settle the Debate – https://www.marthastewart.com/8269604/should-you-refrigerate-jams-jellies
- How to Make Jelly: 7 Easy Jelly Recipes – https://www.almanac.com/how-make-jelly
- Remaking soft spreads – https://extension.oregonstate.edu/food/preservation/remaking-soft-spreads
- Jams, jellies and preserves with no added pectin – https://extension.oregonstate.edu/food/preservation/jams-jellies-preserves-no-added-pectin
- 28 Good Uses for Jam – https://medium.com/feel-nourished/how-to-use-up-jam-1d2a2566b7aa
- Hey Raspberry Fans, Here’s Everything You Can Make with a Pint – https://www.thepioneerwoman.com/food-cooking/meals-menus/g43724066/raspberry-recipes/
- 15 Unique Ways to Use Jams with Food & Drink – Farm to Jar – https://farmtojar.com/easy-scrumptious-ways-use-preserves-jams-breakfast-lunch-dinner-cocktails/
- The 8 Healthiest Jams & Jellies—and 3 To Avoid – https://www.eatthis.com/healthiest-jams-jelly/
- Easy Seedless Raspberry Jam – https://www.fabfood4all.co.uk/easy-seedless-raspberry-jam/
- Berry Bliss: Easy 4-Ingredient Raspberry Sauce – https://onehotoven.com/easy-raspberry-sauce/
- Raspberry Freezer Jam – https://www.eatingonadime.com/no-cook-raspberry-freezer-jam-ready-in-minutes/
- Removing Raspberry Seeds: The Food Mill vs. Muslin Method – https://mariascondo.com/blogs/kitchen/removing-raspberry-seeds-the-food-mill-vs-muslin-method
- Homemade Raspberry Jam Recipe | Quick & Easy! – https://www.recipetocook.co.uk/raspberry-jam-recipe/