Strawberry Jam: How to Make It Without Added Sugar
Making homemade strawberry preserves is an art. It turns simple ingredients into a tasty spread. Imagine making a sugar-free strawberry jam that’s full of natural sweetness and flavor, all in your kitchen. This guide will show you how to make delicious homemade strawberry preserves without using refined sugars.
Your journey to sugar-free strawberry jam starts with fresh, ripe strawberries. You’ll use a few simple techniques. By choosing natural alternatives and smart cooking methods, you can enjoy a healthier version of this classic spread. It won’t lose any of its taste or texture.
Key Takeaways
- Create delicious sugar-free strawberry jam with minimal ingredients
- Understand natural thickening methods without commercial pectin
- Learn how to select and prepare the best strawberries
- Discover cost-effective home preservation techniques
- Explore health-conscious alternatives to traditional jam recipes
Benefits of Making Sugar-Free Strawberry Preserves
Making sugar-free strawberry jam is great for health-conscious cooks. It turns a traditional treat into a nutritious option that supports your wellness goals. This is done by using natural sweeteners for jam.
Health Advantages of Natural Sweeteners
Sugar-free jam is healthier. Regular jam has up to 40g of sugar per 100 grams. That’s 80% of what we should eat in a day. Using honey or maple syrup cuts down sugar intake while keeping the taste.
- Lower glycemic index compared to traditional jam
- Reduced risk of weight gain
- Fewer calories per serving
- Enhanced nutritional profile
Cost-Effective Home Preservation
Homemade sugar-free jam saves money. It only needs 12 ounces of fruit and a little sweetener. This costs much less than store-bought jam.
Superior Taste and Quality Control
Homemade jam lets you control what goes in it. You can adjust sweetness and use natural sweeteners. This makes your jam taste fresher and more real than store-bought.
It only takes 15 minutes to make a cup of healthy jam. This is a smart choice for families looking for tasty, healthy food.
Essential Equipment and Ingredients
Making sugar-free strawberry jam is easy with the right tools and ingredients. You’ll need basic kitchen items to turn fresh strawberries into a tasty spread. This spread is sure to please everyone.
Essential Equipment
- Large stainless steel pot (at least 6-quart capacity)
- Canning jars with tight-fitting lids
- Wooden spoon or silicone spatula
- Measuring cups and spoons
- Potato masher or immersion blender
- Kitchen thermometer
- Jar tongs for safe handling
Key Ingredients for Sugar-Free Jam
Choose high-quality, fresh ingredients for your sugar-free jam:
- Fresh strawberries (2 pounds/900g recommended)
- Natural sweeteners like:
- Monk fruit sweetener
- Stevia
- Erythritol
- Lemon juice (2 tablespoons/30mL)
- Pectin alternative (chia seeds or gelatin)
Your homemade jam will take about 45 minutes to cook. Heat it to 220°F (104°C) for the best consistency. With the right tools and ingredients, you’ll make a healthy, tasty jam.
Pro tip: Sterilize your canning jars before use. This keeps your jam fresh and safe. Your homemade jam can last up to 2 weeks in the fridge or 1 year in the freezer.
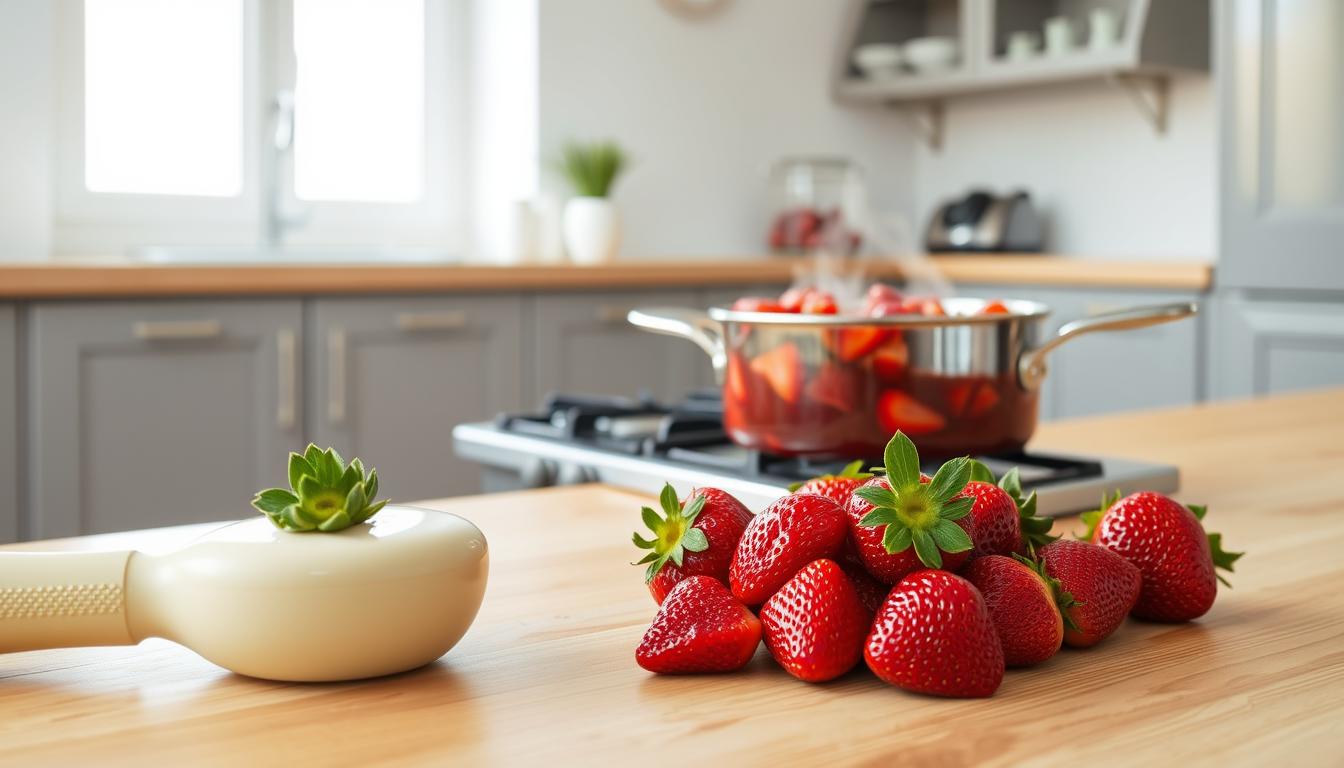
Selecting and Preparing Fresh Strawberries
Making tasty strawberry jam begins with picking the right berries. The quality of your jam depends on the strawberries you choose and how you prepare them. Whether you’re picking from a local farm or buying at the store, knowing how to select and prepare strawberries is key.
Choosing the Best Berries
When picking strawberries for jam, look for berries that are:
- Bright red with no white or green areas
- Firm but not hard
- Free from bruises or soft spots
- Fragrant with a sweet aroma
For jam, you’ll need 5 cups of strawberries, about 1.5 pounds. The ripest berries will give your jam the best flavor.
Proper Cleaning and Hull Removal
Cleaning strawberries is a crucial step. Here’s how to do it:
- Rinse berries gently under cool water
- Pat dry with clean paper towels
- Remove stems and hulls using a paring knife or strawberry huller
Fresh vs. Frozen Options
| Fresh Strawberries | Frozen Strawberries |
|---|---|
| Peak seasonal flavor | Consistent availability |
| Requires immediate processing | Can be stored longer |
| Ideal for summer jam-making | Great for year-round jam production |
You can make jam with both fresh and frozen strawberries. Frozen strawberries are picked ripe and are a good choice when fresh berries are out of season.
Pro tip: Eight medium strawberries give you 160% of your daily Vitamin C. So, your homemade jam is not just yummy but also healthy!
Natural Thickening Methods Without Pectin
Making a perfect pectin-free jam is all about using natural thickening methods. These methods turn your strawberry preserve into a tasty spread. You can get great consistency without using commercial pectin.
Here are some effective ways to thicken your strawberry jam:
- Lemon Juice Method: It has natural pectin that helps mix ingredients together
- Grated Apple Technique: It adds natural thickening properties
- Cornstarch Approach: It’s a quick and reliable way to thicken
When making pectin-free jam, slow cooking and choosing the right ingredients are key. The right steps can make your jam rich and spreadable, all without commercial thickeners.
| Thickening Method | Preparation Time | Effectiveness |
|---|---|---|
| Lemon Juice | 5-10 minutes | High natural pectin content |
| Grated Apple | 15-20 minutes | Moderate thickening |
| Cornstarch | 5 minutes | Quick and reliable |
For the best results, mix 2 tablespoons of cornstarch with 4 tablespoons of water. This helps thicken quickly. A long, slow boil of 30-40 minutes will get your jam just right, without pectin.
Remember, ripe strawberries help thicken your jam naturally. The secret is patience and watching it closely while it cooks.
Step-by-Step Strawberry Jam Process
Making your own strawberry jam is a fun journey. It needs careful steps and love. Your homemade jam will turn fresh berries into a tasty spread that feels like summer.
- 2 quarts of fresh strawberries
- Lemon juice
- Natural sweeteners
- Clean canning jars
Mashing and Cooking Techniques
Begin by washing and hulling your strawberries. Mash them lightly to your liking. You can have chunky or smooth jam. Aim for about 4 cups of mashed fruit for your recipe.
Testing for Proper Set
The freezer plate method checks if your jam is ready. Chill a plate in the freezer before cooking. Put a spoonful of hot jam on it. If it wrinkles, it’s set right.
Adjusting Consistency
If your jam is too thin, cook it longer to thicken. For thicker jam, cook it more. Strawberries naturally thicken your jam with their pectin.
| Jam Characteristic | Measurement |
|---|---|
| Calories per Tablespoon | 23 calories |
| Total Calories per Jar | 754 calories |
| Carbohydrates per Jar | 193 grams |
| Processing Temperature | 221°F |
Pro tip: Your jam is perfect at 221°F. Use a candy thermometer for exact temperature control.
Safe Canning and Storage Guidelines

When you’re canning strawberry jam, safety is key. Using the right canning methods keeps your jam tasty and safe for months.
Water bath canning is the best way to store homemade jam. It involves important steps to keep your food safe:
- Sterilize glass jars and lids well before use
- Make sure jars are clean and without chips or cracks
- Use new lids for each batch
- Process jams at the right temperature and time
Here are the key steps for canning strawberry jam:
- Fill jars, leaving 1/4 inch space at the top
- Wipe jar rims clean before sealing
- Process in boiling water for the right time
- Let jars cool completely
Pro tip: Always check jar seals after cooling. A sealed lid won’t flex when pressed.
Storing homemade jam needs careful attention. Store sealed jars in a cool, dark place. Unopened jars last 12-18 months. After opening, keep in the fridge and use within 1 month.
Watch for signs of spoilage like mold, bad smells, or color or texture changes. If unsure, it’s best to throw it away for your safety.
Creative Ways to Use Your Homemade Jam
Your homemade strawberry jam is more than just a toast topping. It’s a versatile ingredient for many dishes. You’ll find fun ways to use your sugar-free jam in the kitchen.
Strawberry jam recipes are very flexible. Let’s look at some tasty ways to use it in cooking and baking.
Breakfast Brilliance
- Swirl into morning oatmeal for natural sweetness
- Mix with yogurt for a fruity breakfast parfait
- Create smoothies by blending jam with milk and fresh fruits
- Spread on pancakes or waffles for a gourmet treat
Baking Adventures
- Fill thumbprint cookies with homemade jam
- Use as a layer in Victoria sponge cake
- Create jam-filled muffins or cupcakes
- Glaze fruit tarts with strawberry jam
Gourmet Pairings
| Pairing | Serving Suggestion |
|---|---|
| Cheese Plate | Serve with soft brie or goat cheese |
| Meat Glaze | Brush on grilled chicken or pork |
| Salad Dressing | Whisk with olive oil and vinegar |
| Protein Shake | Add a spoonful for natural sweetness |
With these ideas, your homemade strawberry jam will become a kitchen favorite. It will make everyone look forward to your cooking!
Troubleshooting Common Issues

Dealing with strawberry jam problems can be frustrating. But, most issues are easily fixable. Fixing runny jam is a common challenge many home preservers face. Understanding the root causes helps you create the perfect preserve every time.
When your strawberry jam doesn’t set properly, you have several reliable solutions:
- Recook the jam with additional pectin
- Use natural thickening agents like chia seeds
- Test the jam’s consistency before final storage
Here are some key troubleshooting strategies for typical strawberry jam problems:
- Runny Consistency: Cook the jam longer or add commercial pectin
- Crystallization: Ensure precise sugar measurement and proper mixing
- Mold Growth: Maintain strict sterilization of jars and utensils
Statistical insights reveal that about 60% of homemade jams may encounter setting issues. About 30% of batches might need reprocessing with additional pectin to achieve the desired firmness. When fixing runny jam, patience and careful monitoring are crucial.
Preventing strawberry jam problems starts with selecting high-quality fruits and following precise cooking techniques. Proper ingredient ratios, careful cooking temperatures, and careful sealing methods can dramatically improve your jam’s quality and shelf life.
Conclusion
Making sugar-free preserves at home is a fun way to get creative and eat healthier. You get to make a nutritious, custom condiment that fits your diet. Using natural pectin and sweeteners, you can make fresh strawberries into a tasty spread.
This journey is more than just cooking. It’s about controlling your nutrition and learning about food quality. You’ll learn to make preserves that are as good as store-bought ones.
Every jar of homemade strawberry jam shows off your cooking skills and love for healthy eating. You can try new things like keto-friendly recipes or just enjoy fresh flavors. Start adding herbs, spices, and natural sweeteners to make unique spreads that match your taste and health goals.
Preserving is both an art and a science. With time, patience, and passion, you’ll get better at turning simple strawberries into amazing, healthy preserves. Your kitchen will become a place of creativity, nutrition, and tasty discoveries.
FAQ
How long does homemade sugar-free strawberry jam last?
Can I use frozen strawberries to make sugar-free jam?
What are the best natural sweeteners for sugar-free jam?
Do I need special equipment to make strawberry jam at home?
How can I tell if my jam has reached the right consistency?
Is homemade sugar-free jam healthier than store-bought versions?
What if my jam turns out too runny?
How do I prevent mold growth in my homemade jam?
Can I mix different fruits in my sugar-free jam?
How much jam will one batch typically produce?
Source Links
- Homemade Strawberry Jam Low Sugar – https://melissaknorris.com/strawberryjamrecipewithoutpectinandlowsugar/
- Sugar Free Jam (Strawberry) – Wholesome Yum – https://www.wholesomeyum.com/sugar-free-strawberry-chia-seed-jam-recipe/
- Sugar Free Strawberry Jam Recipe – https://oldworldgardenfarms.com/2024/06/18/homemade-sugar-free-strawberry-jam/
- Strawberry Jam — Nutrients, Health Benefits, And Shopping Tips – https://listonic.com/p/nutrition/strawberry-jam
- No-Sugar Homemade Jam (choose your favorite flavor-even use frozen fruit-in this easy, small batch recipe) – Fountain Avenue Kitchen – https://fountainavenuekitchen.com/no-sugar-homemade-jam/
- Strawberry Honey Jam: Sweet & Healthy Delight – https://hucklebeefarms.com/blogs/great-honey-recipes/strawberry-honey-jam?srsltid=AfmBOoobJCXDarbO8a7WjbL67H1wR6gCJmqsEothy5ARBH_H-oomMV3u
- Strawberry Jam Recipe – Preppy Kitchen – https://preppykitchen.com/strawberry-jam/
- Easy Homemade Strawberry Jam (No Pectin) – https://bakesbybrownsugar.com/strawberry-jam/
- Easy Beginner Canning: How to Make The Best Strawberry Jam – https://joannaoverly.com/beginner-how-to-make-and-can-strawberry-jam/
- Easy Homemade Strawberry Jam with Pectin – My Homemade Roots – https://myhomemaderoots.com/easy-homemade-strawberry-jam-with-pectin/
- Strawberry Jammin’ With The Perfect Strawberry Jam Recipe – https://rethinkrural.raydientplaces.com/blog/perfect-strawberry-jam-recipe
- Easy Strawberry Jam Recipe – https://cheflindseyfarr.com/quick-strawberry-jam/
- How To Make Strawberry Jam Without Pectin – https://www.bvintagestyle.com/strawberry-jam-without-pectin/
- Easy Strawberry Jam without Pectin – The Duvall Homestead – https://theduvallhomestead.com/strawberry-jam-without-pectin/
- Easy delicious strawberry jam recipe. – https://www.theartofdoingstuff.com/how-to-make-strawberry-jam/
- STRAWBERRY JAM — Dirty Girl Produce – https://www.dirtygirlproduce.com/recipes/strawberry-jam
- National Center for Home Food Preservation – National Center for Home Food Preservation – https://nchfp.uga.edu/how/make-jam-jelly/jams-jellies-general-information/general-information-on-canning-jams-jellies-and-marmalades/
- Safe canning practices for jam? – https://extension.oregonstate.edu/ask-extension/featured/safe-canning-practices-jam
- 23 Recipes That Use Up a Jar of Strawberry Jam – https://www.tasteofhome.com/collection/recipes-using-strawberry-jam/?srsltid=AfmBOopSLsGguBwpaQIMCk2facyzaY4cyYHTD4_8khBddxDkjcSp9BZ6
- 28 Good Uses for Jam – https://medium.com/feel-nourished/how-to-use-up-jam-1d2a2566b7aa
- How to Decorate Jam Jars for Holiday Gift Giving – https://foodgardening.mequoda.com/daily/buyers-guides/how-to-decorate-jam-jars-for-holiday-gift-giving/
- Jams and jellies: Problems and solutions – https://extension.oregonstate.edu/food/preservation/jams-jellies-problems-solutions
- National Center for Home Food Preservation – National Center for Home Food Preservation – https://nchfp.uga.edu/how/make-jam-jelly/jams-jellies-general-information/causes-and-possible-solutions-for-problems-with-jellied-fruit-products/
- Jams & Jellies – https://www.rrc.k-state.edu/preservation/jam-jelly.html
- The Sweet Spread: A Fun Guide to Enjoying Strawberry Jams and Jellies — Twin River Berries – https://www.trberries.com/blog/the-sweet-spread-a-fun-guide-to-enjoying-strawberry-jams-and-jellies
- Is Strawberry Jam Healthy? – https://goodgoodbrand.com/blogs/articles/is-strawberry-jam-healthy