Fruit Art: How To Make Colorful Fruit Designs That Wow
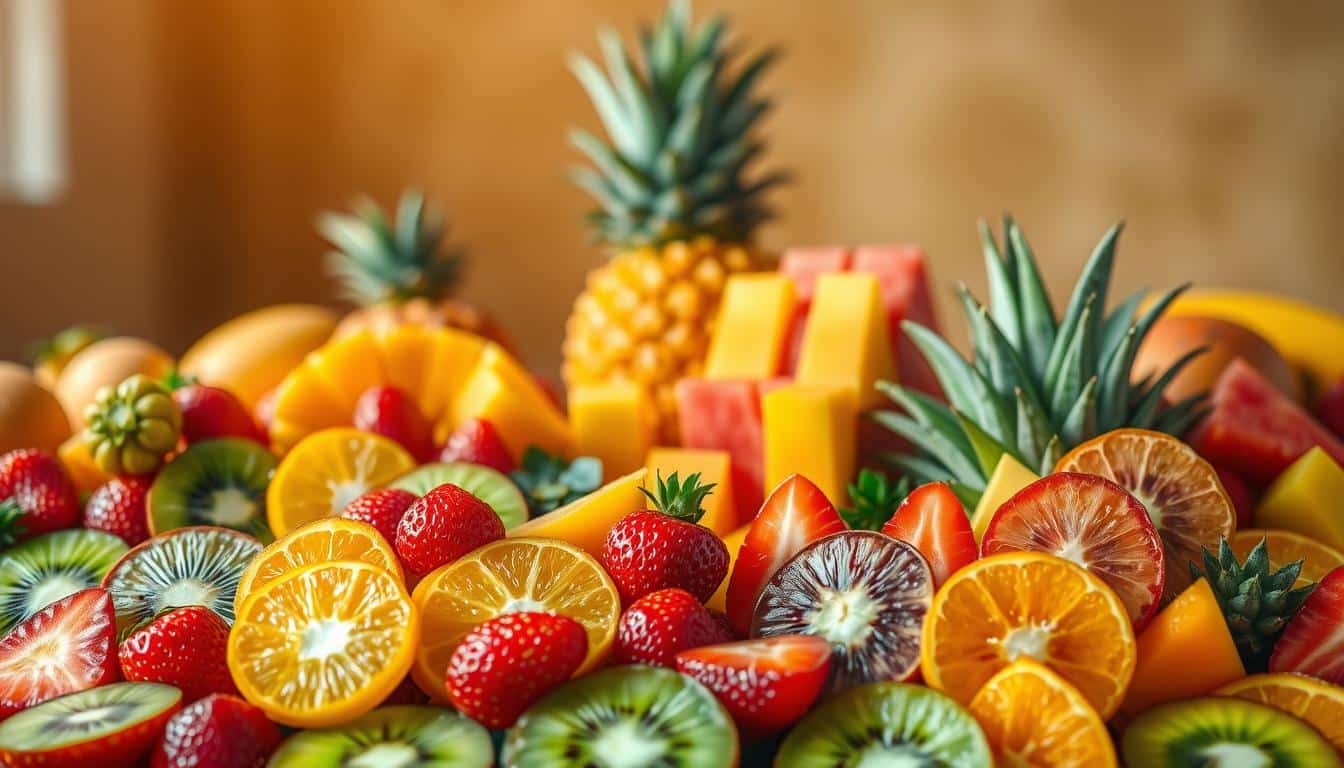
Welcome to the vibrant world of fruit art! It’s a trend that turns simple fruits into stunning edible sculptures. It’s perfect for special events or just to spice up your meals. Fruit art is a fun way to make healthy food look amazing.
Edible sculpture is more than just making food look good. It’s a mix of cooking skills and artistic flair. You’ll learn to make fruits into designs that wow everyone. From simple cuts to complex patterns, this guide will show you how.
Get ready to mix healthy eating with artistic fun. With a bit of practice and passion, you’ll create colorful fruit designs that are as tasty as they are beautiful!
Key Takeaways
- Fruit art transforms ordinary fruits into visually stunning designs
- Edible sculpture combines culinary skills with artistic creativity
- Anyone can learn fruit art with the right techniques and practice
- Fruit designs make healthy eating more fun and engaging
- Perfect for parties, events, and social media presentations
Getting Started with Edible Art: Essential Tools and Materials
Starting your food carving journey needs passion, creativity, and the right tools. You’ll learn about the key equipment and techniques. These will help you turn simple fruits into amazing works of art.
Choosing the right tools is crucial for your fruit carving journey. Experts say to pick high-quality cutting tools. They ensure precision and safety.
Basic Cutting Tools for Fruit Carving
Your fruit carving toolkit should include:
- Triangle Thai Knife with curved and straight blades
- Professional stainless steel carving knives
- Melon ballers
- Specialized peelers
- Paring knives with sharp, narrow blades
Types of Fruits Best Suited for Artistic Designs
Not all fruits are good for food carving. Some are better than others for detailed designs:
- Firm Fruits: Watermelons, apples, and pineapples
- Intermediate Fruits: Cantaloupes and honeydew melons
- Accent Fruits: Berries and kiwis for decorative touches
Safety and Preparation Guidelines
Before starting, remember these important safety tips:
- Always use sharp, clean knives
- Wash fruits thoroughly before carving
- Work on a stable, clean cutting surface
- Keep your fingers away from the blade
- Store carved fruits in cold water to maintain freshness
With these tools, fruits, and safety tips, you’re set to create stunning edible art. It will impress your friends and family.
Fundamental Fruit Cutting Techniques for Beginners
Learning to garnish fruits starts with basic cutting skills. These skills turn simple fruits into beautiful decorations. They’re essential for any dish, from snacks to fruit art.
Beginners should learn a few key cutting methods. These are the basics of fruit decoration:
- Precision Slicing: Making thin, even cuts to highlight the fruit’s beauty
- Dicing: Cutting fruits into small cubes for fancy garnishes
- Shape Cutting: Creating simple shapes and designs
As you get better, you’ll learn special cuts like the “V” and fan cuts. These help you make fruits look like art.
| Cutting Technique | Skill Level | Best Fruits |
|---|---|---|
| Precision Slicing | Beginner | Apples, Pears, Melons |
| Dicing | Beginner | Watermelon, Pineapple, Kiwi |
| Fan Cut | Intermediate | Strawberries, Kiwi |
Practice is crucial for improving your fruit decoration skills. Start with soft fruits and move to harder ones as you get better. With time and effort, you’ll make fruit garnishes that wow everyone.
Basic Shapes and Patterns in Fruit Art
Fruit art turns simple fruits into amazing visual works. To make stunning fruit designs, you need creativity and skill. Learning basic shapes and patterns will take your food presentation to the next level.
Understanding how to shape fruits into beautiful designs is key. You’ll learn to impress your guests with fruit art patterns. These designs will make your platters truly stand out.
Creating Geometric Designs
Geometric patterns are the base of fruit art. You can make eye-catching designs with simple steps:
- Use watermelon wedges for triangle arrangements
- Make circular patterns with round fruits like oranges and kiwis
- Star shapes require precise cutting
Making Flower Patterns
Flower-inspired fruit designs add elegance. Turn fruits like strawberries, apples, and melons into flowers with careful cuts.
| Fruit Type | Flower Pattern Technique | Difficulty Level |
|---|---|---|
| Strawberries | Petal fan cutting | Beginner |
| Watermelon | Layered rose design | Intermediate |
| Apple | Spiral blossom technique | Advanced |
Animal-Inspired Shapes
Get creative by making fruits look like animals. Playful fruit arrangements can feature:
- Dolphin shapes from watermelon
- Owl designs with kiwi and grapes
- Butterfly patterns from cantaloupe and honeydew
Keep practicing to improve your fruit art. Your efforts will create food presentations that everyone will love.
Creating Beautiful Fruit Flowers and Petals
Turning simple fruits into stunning edible sculptures can take your food presentation to new heights. Fruit styling lets you make amazing flower designs that will wow your guests. It makes any meal more special.
Learn to make delicate fruit flowers with these key techniques:
- Select fruits with smooth, consistent textures
- Use sharp, precise cutting tools
- Practice layering and carving methods
- Experiment with different fruit color combinations
Begin by picking fruits that are great for petals. Watermelon, cantaloupe, and apples are perfect for their texture and color. The secret to making beautiful edible sculptures is patience and careful technique.
Discover how to make unique flower designs:
- Rose-style apple slices
- Lily-inspired melon petals
- Sunflower pineapple carvings
With time and practice, you’ll get better at turning fruits into detailed flower arrangements. Your fruit styling will become a beautiful art form that pleases both the eyes and taste buds.
Advanced Fruit Carving Methods
To get better at food carving, you need to be dedicated and creative. As you learn more about fruit design, you’ll find ways to turn simple fruits into stunning works of art. These advanced techniques take fruit decoration to new heights.
Intricate Pattern Techniques
Learning intricate patterns takes time and patience. You’ll work on making complex designs that look amazing. Start with these essential techniques:
- Lace-like cutout designs on watermelon surfaces
- Mandala-inspired geometric patterns
- Delicate landscape scenes carved into larger fruits
3D Fruit Sculpture Tips
Three-dimensional fruit sculptures are the top level of food carving. You’ll need to know about structure and balance. Here’s what to focus on:
- Selecting fruits with robust structures
- Using strategic support techniques
- Creating layered, dimensional designs
Color Combination Strategies
Color plays a big role in fruit art. Knowing how to mix fruit colors can make your art pop. Try these color mixing tips:
- Contrasting bright and dark fruit tones
- Creating gradient effects
- Using complementary color palettes
Keep practicing and trying new things to find your own style. Each technique takes time to get right, but the end result is worth it.
Seasonal Fruit Art Displays and Arrangements
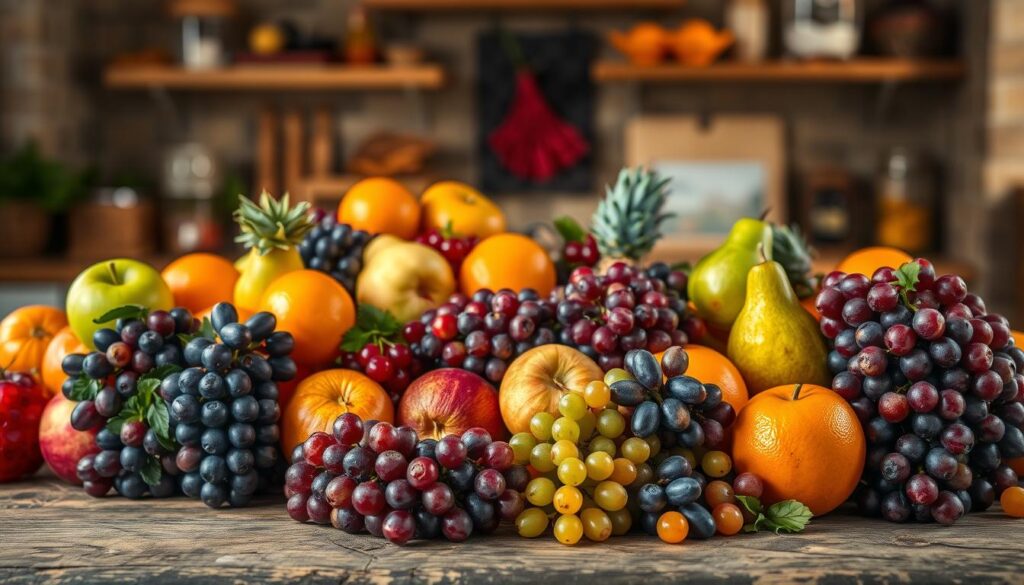
Take your fruit arrangement skills to the next level by embracing each season’s unique charm. Your fruit displays can go from simple platters to stunning works of art. These displays capture the essence of nature’s changing colors.
Seasonal fruit art is about picking the right fruits at their freshest. Each season brings unique colors, textures, and flavors. These can inspire incredible fruit displays.
Seasonal Fruit Selection Guide
| Season | Featured Fruits | Color Palette |
|---|---|---|
| Spring | Strawberries, Cherries, Apricots | Soft pinks, light greens |
| Summer | Berries, Melons, Peaches | Bright reds, deep blues |
| Fall | Apples, Pears, Grapes | Warm oranges, deep reds |
| Winter | Citrus, Pomegranates, Kiwis | Vibrant yellows, rich reds |
Your fruit arrangement can tell a story with seasonal produce. Here are some creative ideas for each season:
- Spring: Create delicate arrangements with pastel-colored fruits and edible flowers
- Summer: Design vibrant, refreshing displays with juicy berries and melons
- Fall: Craft rustic displays featuring warm-toned apples and pears
- Winter: Develop elegant citrus and pomegranate centerpieces
Pro tip for fruit displays: Always choose fruits that are ripe, colorful, and at their seasonal best. This ensures not just visual appeal but also optimal flavor in your fruit arrangements.
Remember, great fruit art is about creativity, seasonal awareness, and a passion for presenting nature’s colorful bounty in unexpected ways.
Creative Fruit Platter Presentation Ideas
Turning a simple fruit platter into a stunning masterpiece needs skill and creativity. Food presentation is more than just arranging fruits. It’s an art that pleases both the eyes and taste buds. With the right techniques, you can make an ordinary spread into a feast for the eyes.
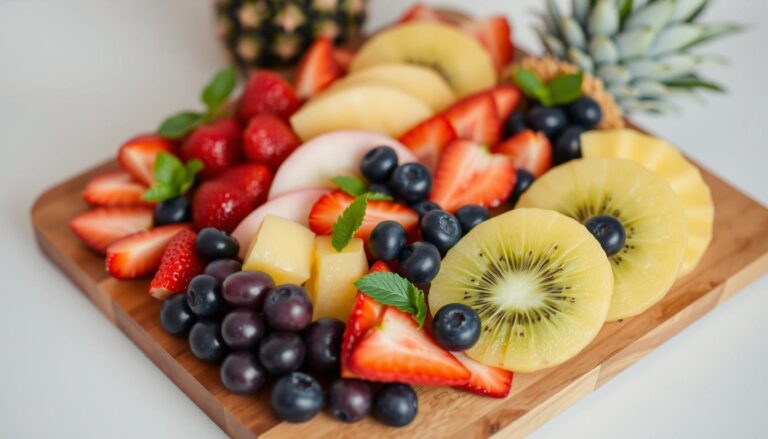
To make a fruit platter memorable, focus on several key elements. Your goal is to create a design that looks as good as it tastes.
Layout and Design Principles
When designing your fruit platter, keep these principles in mind:
- Create visual balance by distributing colors and shapes evenly
- Use varying heights to add depth and interest
- Leave small spaces between fruits for a clean, intentional look
- Choose a focal point that draws the eye immediately
Color Coordination Tips
Color is key in fruit styling. Choose fruits that complement each other:
- Pair bright fruits like strawberries with soft greens
- Create gradient effects using similar color families
- Use white or neutral-colored fruits to break up intense colors
Garnishing Techniques
Enhance your fruit presentation with these garnishing ideas:
- Sprinkle mint leaves for a fresh touch
- Add chocolate drizzles for elegant contrast
- Use edible flowers as sophisticated decorations
- Incorporate citrus zest for additional flavor and visual appeal
Great food presentation is about creativity and personal expression. Let your imagination guide you as you design fruit platters that are truly works of art.
Professional Tips for Instagram-Worthy Fruit Art
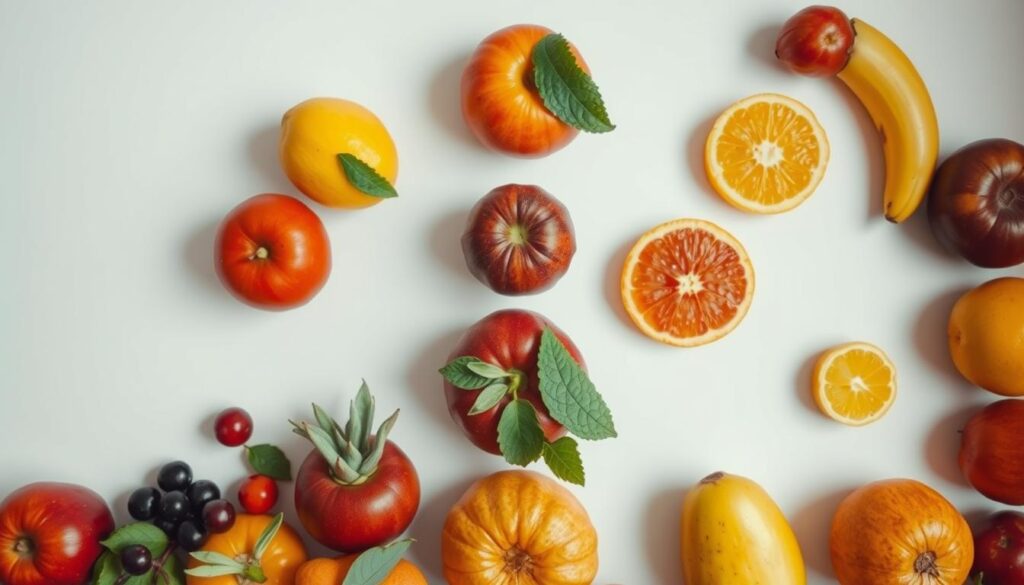
Creating stunning fruit art for social media is more than just being artistic. Your presentation can make or break your online image. Learning how to present food well will help you take amazing photos that draw in followers and show off your creativity.
Here are some professional tips for taking photos of your fruit art:
- Select a neutral background that doesn’t compete with your design
- Use natural, soft lighting to show off the details
- Place your artwork in a way that looks best
Lighting is key in fruit art photography. Natural light brings out the colors and textures of your work. Place your art near a window for soft, indirect sunlight to capture its beauty.
| Photography Technique | Key Benefit |
|---|---|
| Tripod stabilization | Eliminates motion blur |
| Wider composition | Allows flexible cropping |
| Color correction | Maintains authentic artwork representation |
Using the right hashtags can make your fruit art more visible. Tags like #fruitart, #fruitcarving, and #foodpresentation connect you with people who love food art.
Your goal is to turn simple fruit into eye-catching art. Practice, try new things, and let your style show in every photo.
Common Mistakes to Avoid in Fruit Design
Mastering fruit decoration is more than just being creative. Even the most skilled can face challenges that ruin their fruit designs. Knowing these common mistakes helps you make stunning fruit presentations that last.
Creating amazing fruit art means avoiding several common mistakes. These mistakes can quickly lower the quality and appeal of your work.
Storage and Preservation Strategies
Proper storage is key in fruit decoration. Fruits can quickly lose their color and freshness if not stored right. Here are some preservation tips:
- Use citrus juice like lemon to prevent browning
- Store delicate fruits in sealed containers
- Keep fruits at optimal temperatures
- Separate fruits with different moisture levels
Temperature and Timing Considerations
Understanding fruit ripeness and temperature sensitivity is crucial. Different fruits react differently to environmental conditions:
- Tropical fruits bruise easily at low temperatures
- Berries spoil faster than firmer fruits
- Some fruits change color rapidly when cut
Preventing Color Bleeding
Color bleeding can ruin your fruit designs. To keep your presentations crisp and clean:
- Use barriers between vibrant and light-colored fruits
- Pat fruits dry before arranging
- Work quickly to minimize color transfer
- Consider using white fruits as neutral separators
By using these techniques, you’ll take your fruit art to the next level. You’ll create stunning and lasting designs that impress and delight.
Making Kid-Friendly Fruit Art Designs
Turning fruits into fun sculptures can make mealtime exciting for kids. It’s a great way to get them to eat healthy and think creatively. Kids enjoy making food that’s both tasty and visually appealing.
- Create animal faces using different fruit shapes
- Design colorful fruit characters
- Build fruit kebab stations for interactive eating
- Craft simple fruit landscapes
When making fruit art for kids, safety is key. Pick soft fruits that are easy to cut and handle. Watermelon, cantaloupe, and strawberries are good choices. Always watch over kids when they’re helping with fruit.
Make fruit art a family activity to keep kids engaged. Let them pick fruits, help with cutting (with your watchful eye), and arrange designs. This turns eating healthy into a fun game for them.
Some fun themes to try include:
- Cartoon character fruit plates
- Seasonal fruit scenes
- Colorful fruit monsters
- Fruit animal kingdoms
The main goal is to make fruit decoration fun and easy. Start with simple designs and add more complexity as kids get better at making art.
Conclusion
Fruit art is more than just cooking—it’s a way to express yourself creatively. It turns simple fruits into amazing works of art. You can now make stunning dishes that are both healthy and beautiful.
Learning about fruit art shows how creative humans can be. You’ve gone from basic cuts to making 3D fruit sculptures. Now, you can make any meal special, whether it’s for a family dinner or a big event.
Keep practicing fruit art to discover new things. Every fruit you carve becomes a chance to show your creativity. Start simple, try new things, and your skills will grow. Remember, every expert started somewhere, and your style will shine through with practice.
Fruit art connects you to a long history of creativity and wellness. It’s celebrated in many cultures, from ancient ceremonies to today’s cooking shows. Enjoy your new skills, share your art, and have fun on this tasty journey.
FAQ
What are the essential tools needed for fruit art?
Which fruits work best for fruit carving?
How can I prevent fruits from browning?
Is fruit art difficult to learn?
How long can I keep a fruit art design?
Can children participate in fruit art?
What are some beginner-friendly fruit art designs?
How can I make my fruit art more visually appealing?
What safety precautions should I take when doing fruit art?
Can I prepare fruit art in advance for an event?
Source Links
- https://garnishfood.blogspot.com/p/carving-tool-set.html
- https://www.johnnyskitchen.us/cooking-techniques/garnishing-tools.html
- https://sites.google.com/carsu.edu.ph/the-foodies/topics/concept-of-mise-en-place/fruit-and-vegetable-carving
- https://www.verywellfit.com/seasonal-guide-when-fruits-are-in-season-4104468
- https://www.proflowers.com/blog/fruit-in-floral-arrangements
- https://illustratorslounge.com/educational/tips-to-photograph-your-art-for-social-media/
- https://best-hashtags.com/hashtag/fruitart/
- https://en.wikipedia.org/wiki/Fruit_carving
- https://www.momentslog.com/culture/traditional-thai-fruit-carving-culinary-artistry-and-cultural-tradition
- https://www.templeofthai.com/fruit_carving/carving.php
